
OpenVAS is an open source fork of Nessus, which is a well established tool for vulnerability assessment.
Why OpenVAS instead of Nessus ? Well OpenVAS is on the standard back|track 4 pre final installation..
Briefly laid out, what is being done to get OpenVAS working is as follows;
- An SSL certificate is created to allow communication between the OpenVAS Server and the OpenVAS Client.
- A user account is made, so that the client is able to use the OpenVAS server.
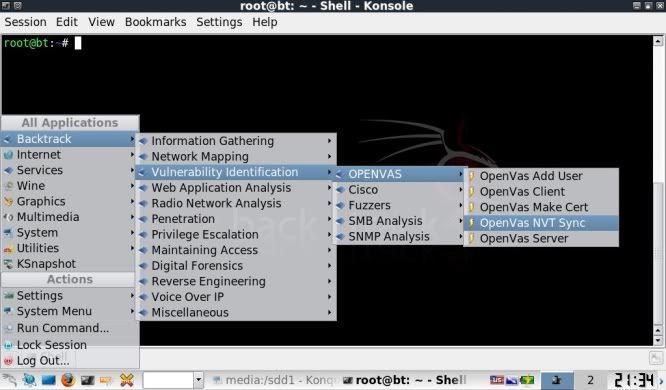
- A syncronisation process with an OpenVAS NVT Feed is performed to update plugins.
- A local OpenVAS Server is started to load all plugins.
- OpenVAS Client is started to get down to business !
Setting up the tool (need to be online to synchronize in step 3)
Step 1) Make a certificate.

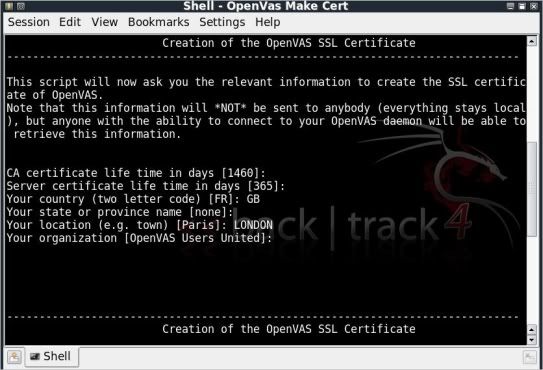
You can simply press enter down the whole route, adding in information on your Country and City if you so choose.
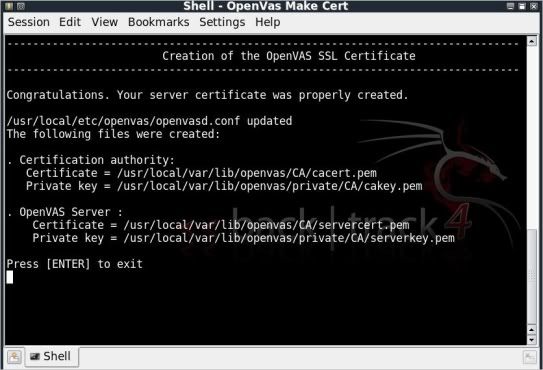
At the end you will be presented with the screen that your server certificate was properly created.
Press Enter to exit and close the console.
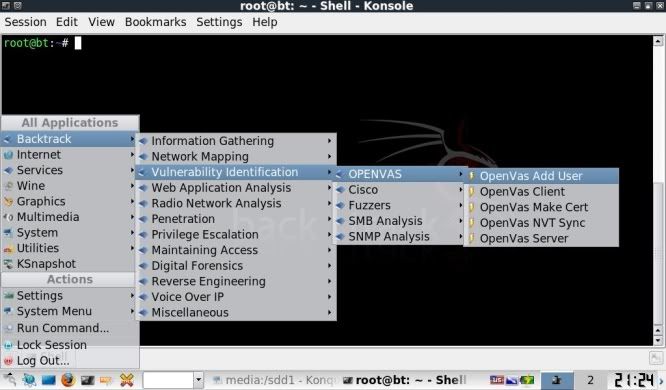
Step 2) Add a User
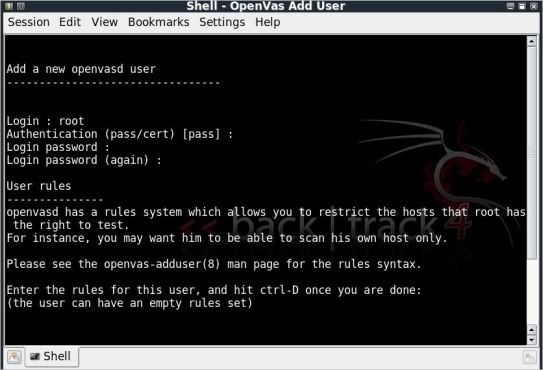
Login : root
Authentication (pass/cert) [pass] : just hit enter
Login password : toor (just to be original with the BT theme.. ;)
Login password again : toor
Hit Ctrl + D when asked to enter rules for this user. You dont need to.
When asked if all OK, hit y, user is added and you can exit the console.

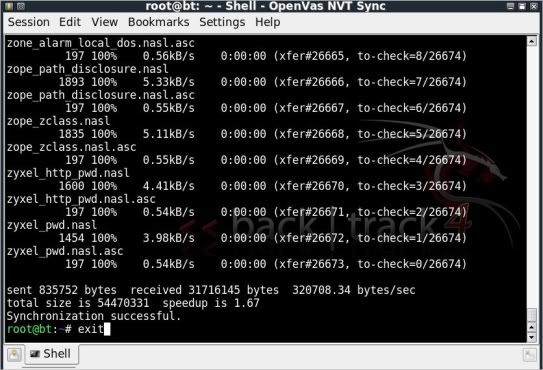
Step 3) Synchronize with OpenVAS to update all plugins
The synchronization process will start straight away.
When it is completed you can exit the console.
Step 4) Starting the OpenVAS Server
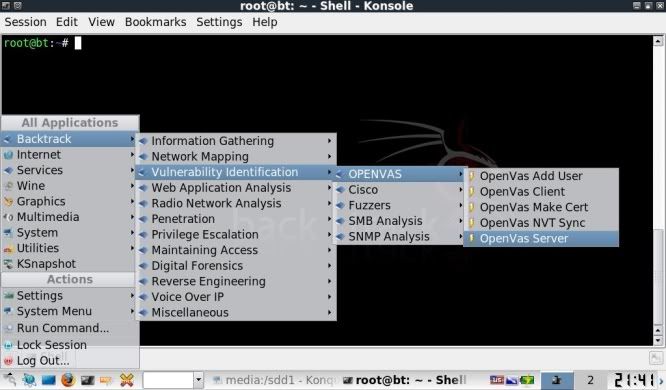
The server will start to load the plugins straight away, this can take a wee while.
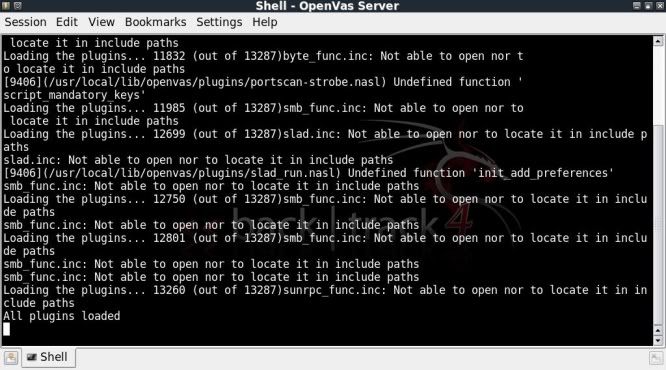
When all plugins have completed loading, minimize that console window (dont close it !).
Step 5) Start the OpenVAS Client
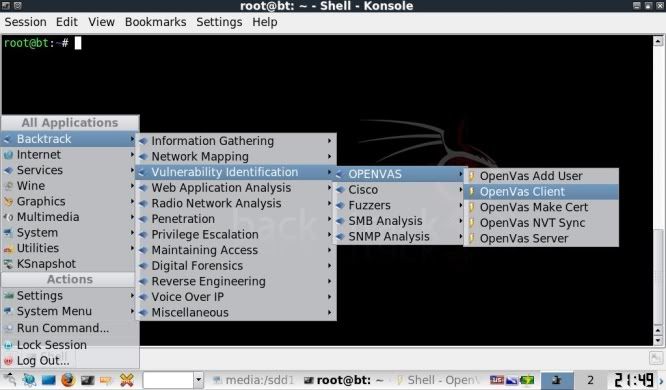
This will start a GUI in a seperate window

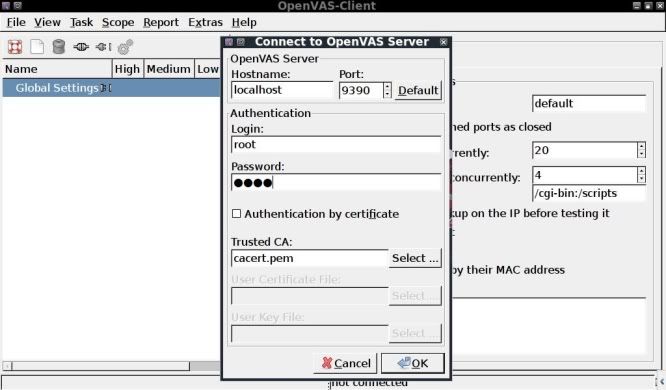
First click on the connect icon at the top left to establish a connection with the local server.
You will be prompted for your password that was entered when adding the user (in this case toor).
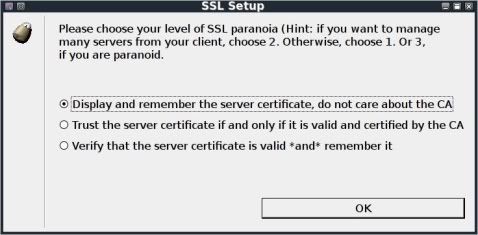
Upon clicking OK you will be prompted to choose the level of SSL paranoia (choose top one).
Then finally you will be prompted to accept the certificate.
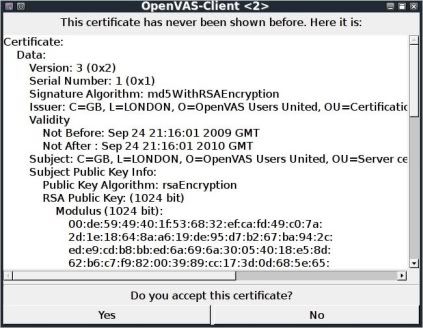
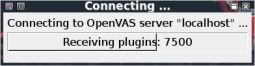
The Client will load the plugins and dependancies from the server and upon completion, you will see "Connection: root@localhost" in the bottom right.
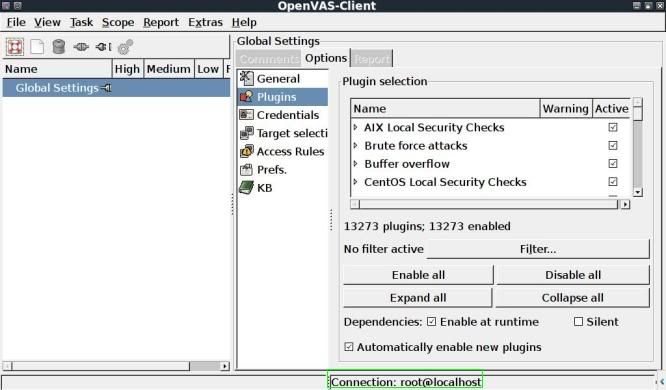
At this stage the client is prepped, loaded and ready to get going, just a few quick steps away from getting a scan going !
Part 2 will show setting up for a simple Vulnerability check.
No comments:
Post a Comment